Deal documents
Uploading files, recognition, document cards, editing fields, the scan alongside, and creating the declaration.
The Deal documents section is the first one in the deal's section bar. This is where you upload and recognize files, review the extracted data and create the declaration.
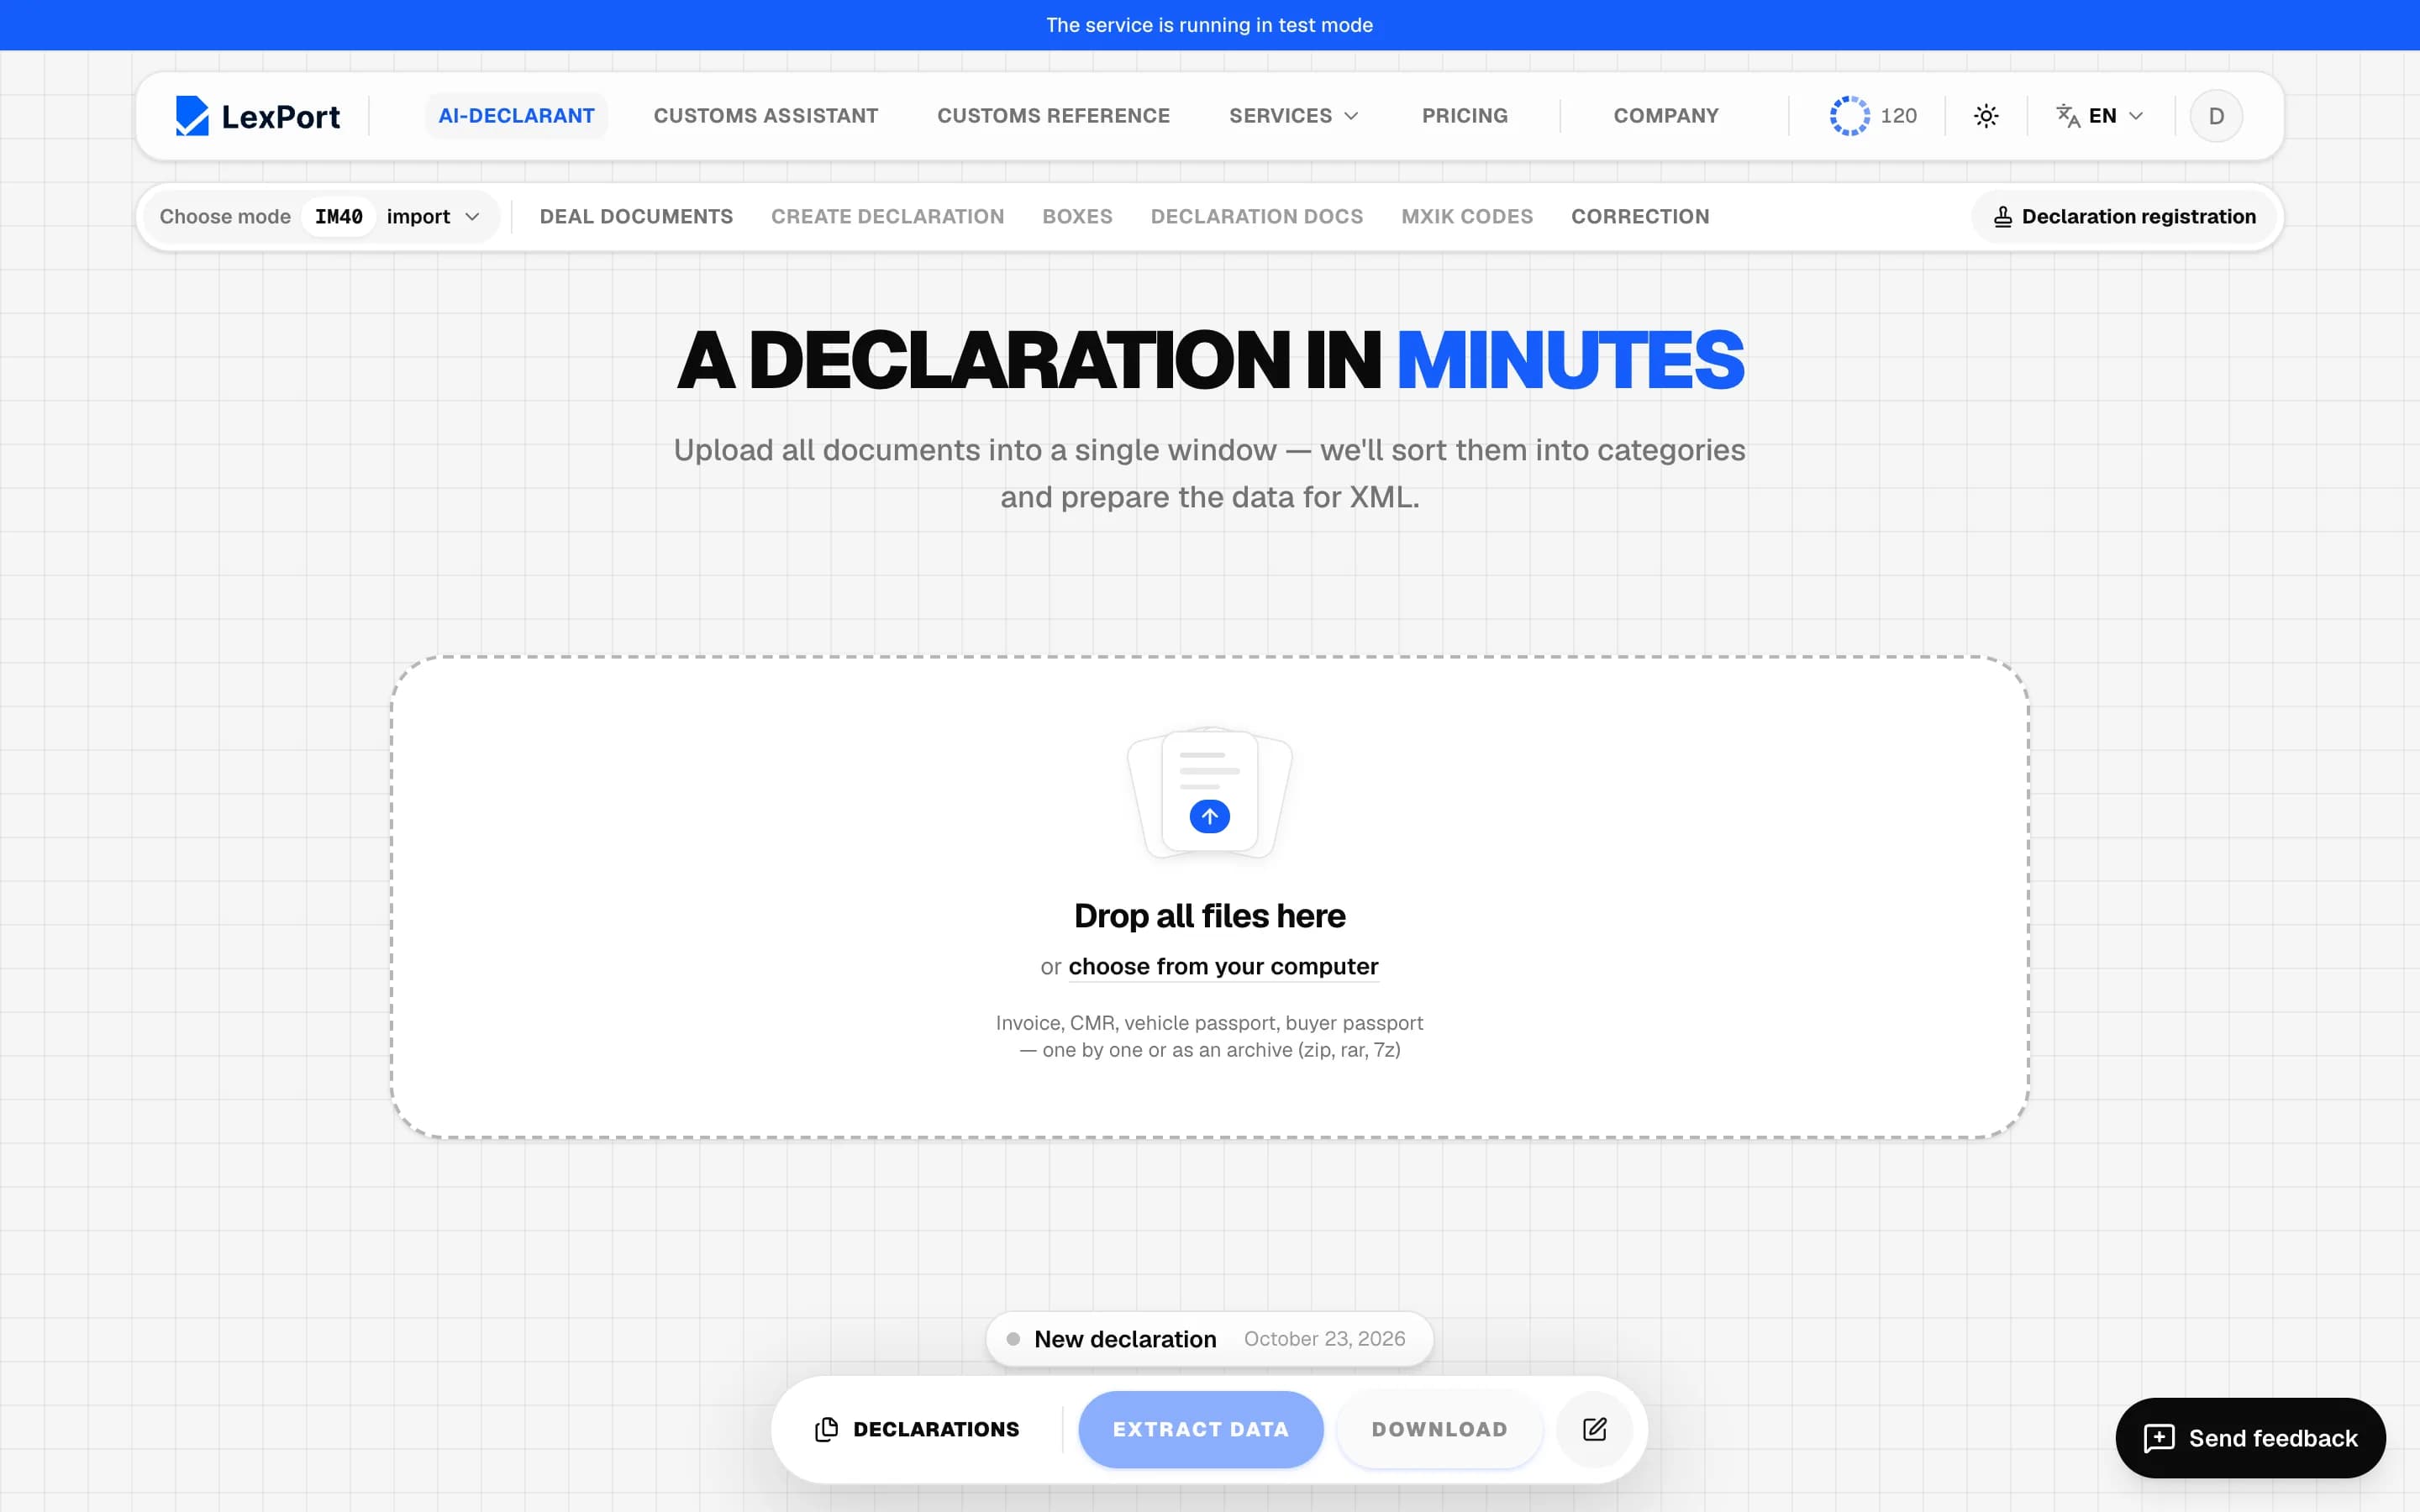
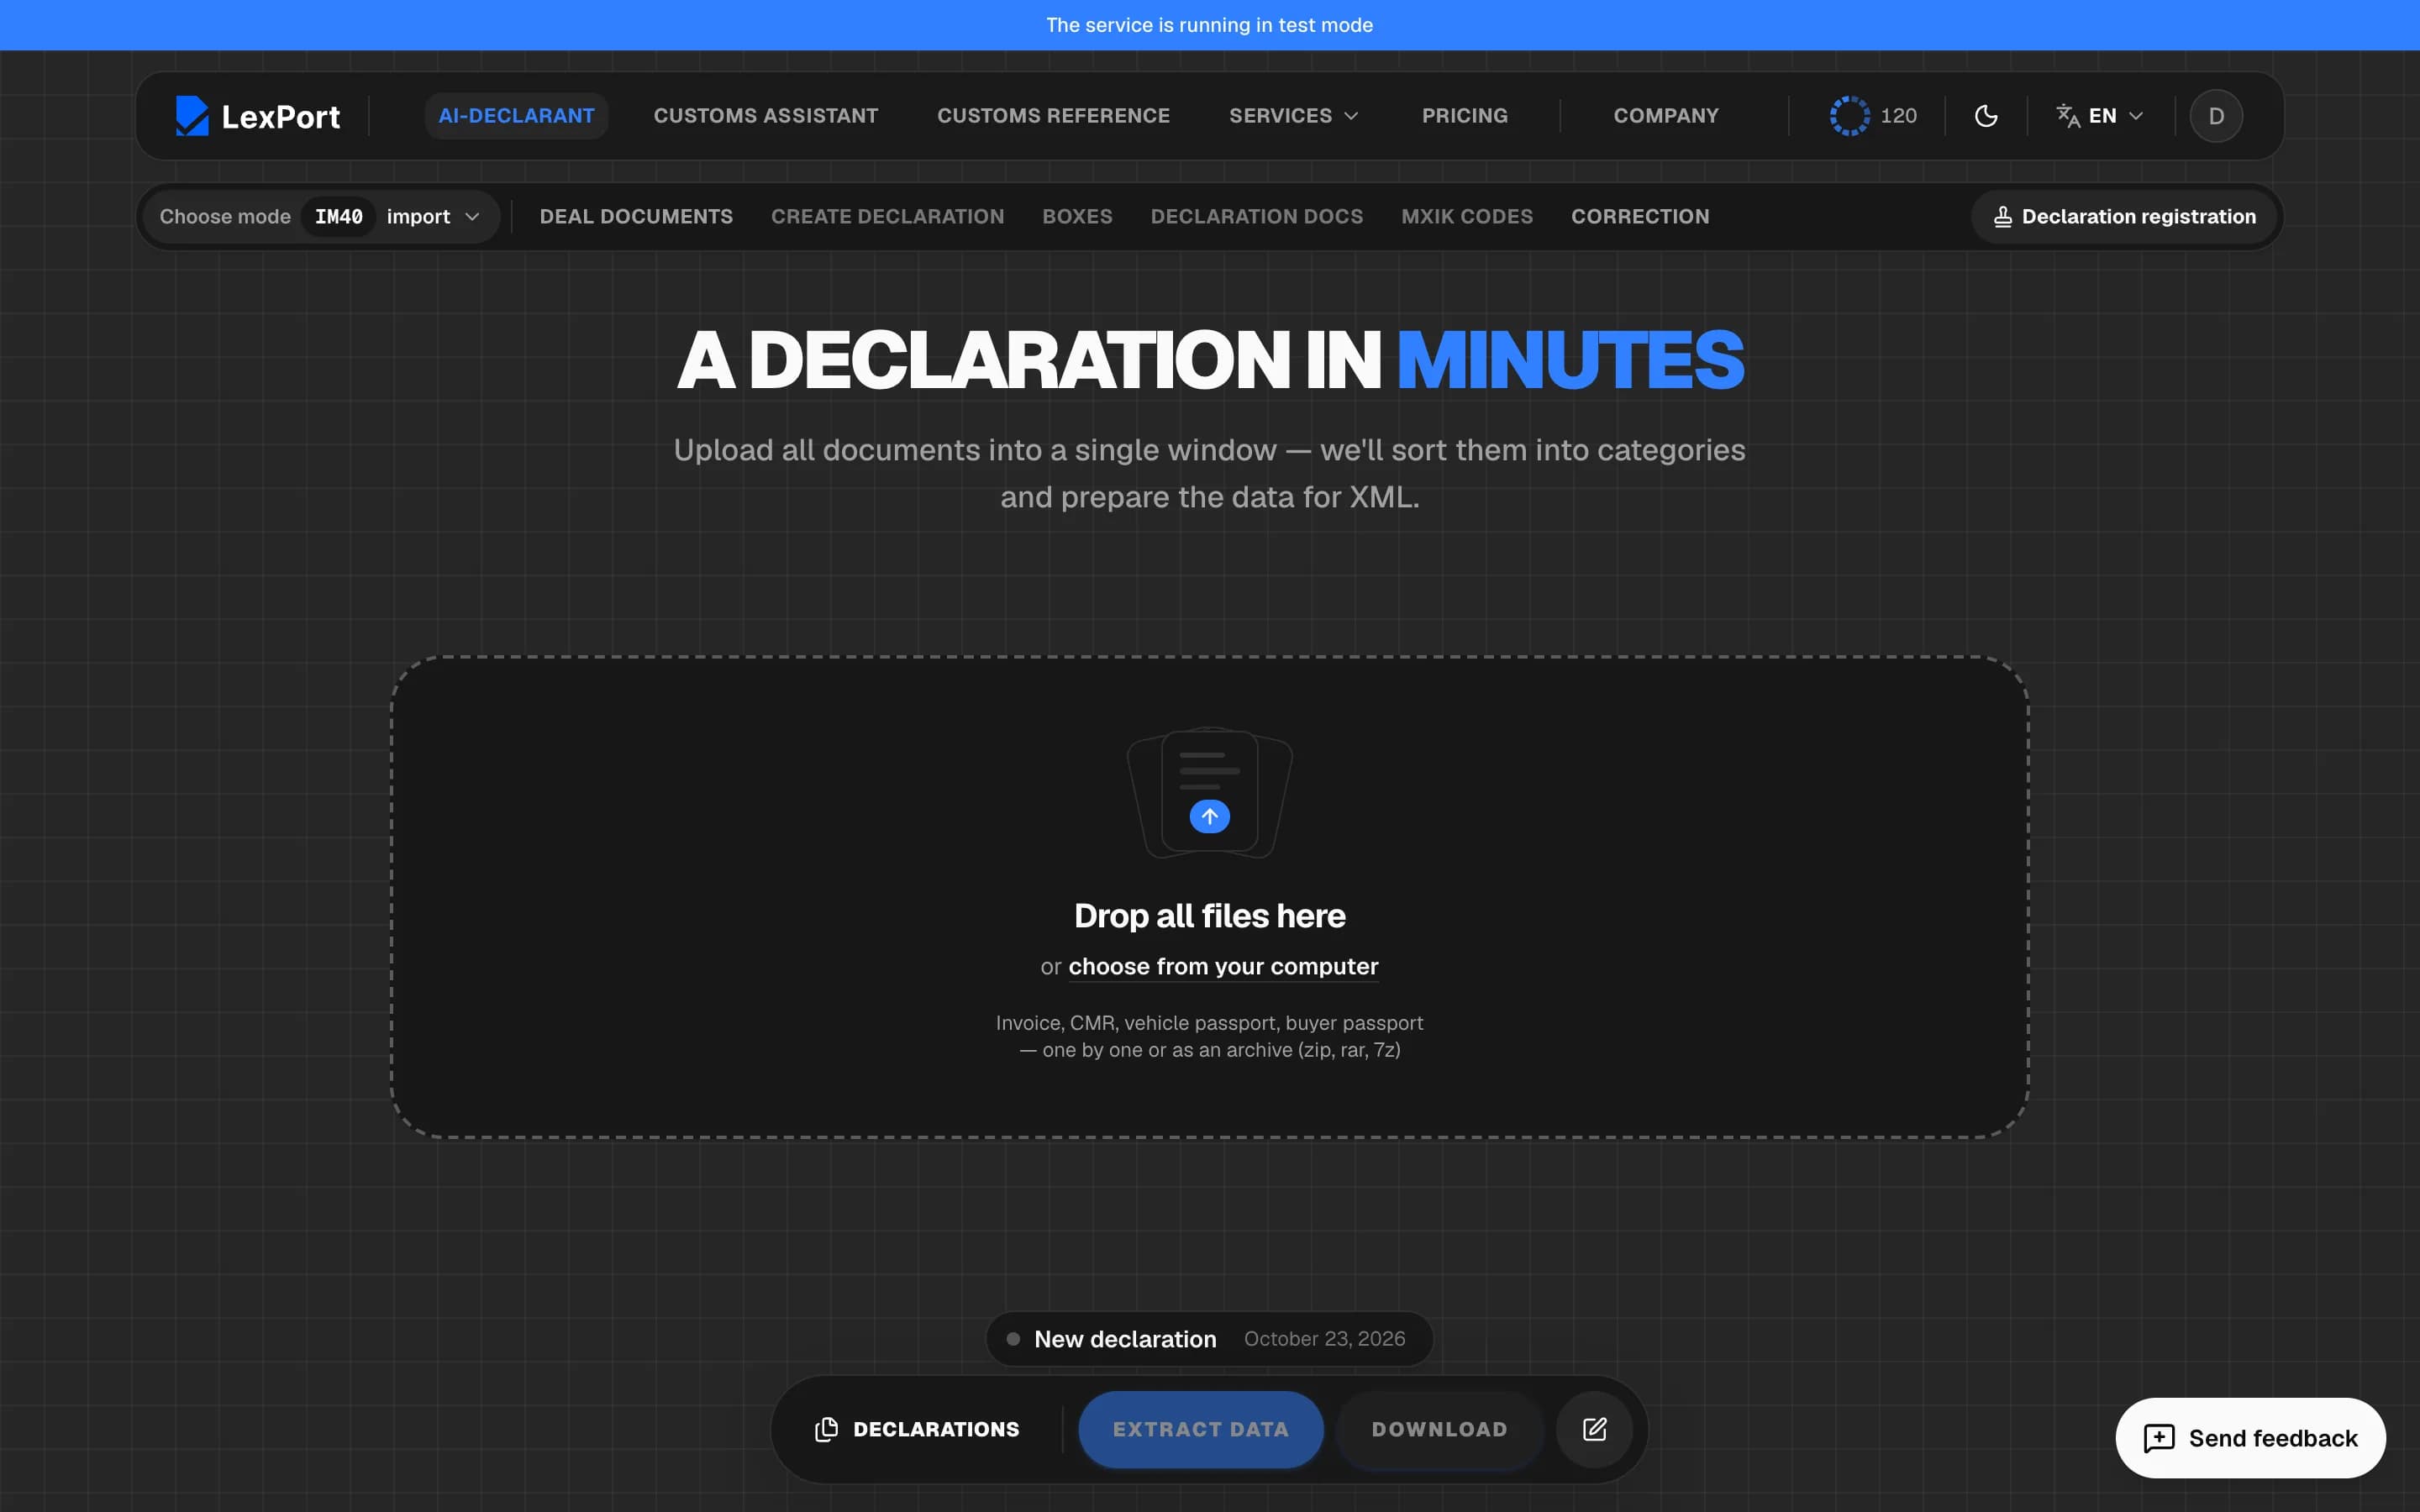
Upload the files
Drag files into the Drop all files here area or pick them on your computer. The area stays on screen afterwards too — you can add files at any time.
Supported files:
- PDF, Word (DOCX), PowerPoint (PPTX);
- Excel (XLSX) — a packing list, for example, is read cell by cell;
- photos and scans: JPEG, PNG, WEBP, TIFF, GIF, HEIC, AVIF;
- ZIP, RAR and 7z archives — they're unpacked automatically.
Limits
Up to 50 MB per file, up to 20 files at a time and up to 100 MB per upload. Up to 50 documents from archives. Password-protected archives won't open, nested archives are skipped. The same file can't be uploaded twice.
Until a file is sent for recognition, you can remove it with the cross.
Recognize
Press Extract data in the bottom panel. If you're not signed in, the sign-in window opens first. While it runs, the button says "Processing…", each document shows "Reading …", and Contents shows "Processed: N of M".
If your document balance doesn't cover the queue, processing won't start — the Limit reached window opens (see Pricing and payment).
Document card
Each recognized document is a card of its type: invoice, CMR, waybills (air, SMGS, postal), carriage contract, packing list, certificate of origin, export and transit declarations, contract, registration card (IDN), vehicle registration certificate, buyer's passport. Several files of the same type are gathered into one card.
- Document type identified by AI — a mark shown when the model picked the type.
- A yellow scan-quality warning — check the fields and, if needed, enter them manually.
Fields and scan
Fields are on the left, the document scan on the right; the scan stays in place as you scroll.
- Clicking a field highlights its place on the scan.
- To correct a value, click it or press the Edit pencil. The edit is saved when you leave the field, or on Enter. After an edit the field needs to be confirmed again.
- The Re-read field with AI star reads a single field again.
- A yellow dot means low recognition confidence: check the value.
- Keys: ↑ / ↓ — move between fields, Enter — edit.
By the scan: the Document N switch when there are several files, page navigation, and the Zoom in, Zoom out and Reset zoom buttons.
What else is on the card
- Box 44, item N — the document number and date go straight to box 44.
- The invoice has Invoice positions (you can Add item and Remove position), a line with the Central Bank rate and amounts in sum, and the full recognized text with a Copy button.
- The invoice and the contract have a Counterparty check.
- Document totals — fields that apply to the whole document.
Confirm the data
The Confirm data button is at the bottom of the card. Confirmed values go into the boxes and the XML. You can download the declaration only once all cards are confirmed.
Delete a document
The cross on the file → "Are you sure you want to delete?" → Yes. If the document was deleted while it was waiting in the queue, the charge is returned.
Other documents
Files that weren't recognized as deal documents — letters and the like — are in the Other documents section. A thumbnail opens full size on click. If one of them is actually a passport, invoice, vehicle registration certificate or CMR, pick the type in the list next to the file — the document is recognized and moves to its card. You don't need to upload it again.
If a document wasn't read
A Could not be recognized card with a Try again button — you don't need to upload the file again. A retry charges the document to your balance again.
Creating the declaration
While there's no declaration yet, the section bar has a Create declaration button, and the boxes and declaration docs are grayed out. The button opens the Create declaration window: check the deal data — some is filled from the documents, some from your profile — and press Create declaration. Leave empty creates the declaration without this data.
If you've made edits in the window and close it, LexPort asks whether to save what you entered.